Install Plone from its packages
Contents
Install Plone from its packages#
When you want full control over development or deployment, installing Plone from its packages is a good option.
System requirements#
The hardware requirements below give a rough estimate of the minimum hardware setup needed for a Plone server.
Add-on products and caching solutions may increase RAM requirements.
A single Plone installation is able to run many Plone sites. You may host multiple Plone sites on the same server.
Almost any modern operating system, including Linux, macOS, and Windows, but a UNIX-based operating system is recommended.
Minimum 256 MB RAM and 512 MB of swap space per Plone site is required. 2 GB or more RAM per Plone site is recommended.
Minimum 512 MB hard disk space is required. 40 GB or more hard disk space is recommended.
Pre-requisites for installation#
Note
- Update
Node.js 18 is in LTS state as of 2022-10-25, and Node.js 16 is now in maintenance mode. However, due to changes in internal SSL libraries, some Volto dependencies have been deprecated and need to be updated in order to continue working in Node.js 18, mainly Webpack 4. You can still use it, but Node.js should be run under a special flag:
NODE_OPTIONS=--openssl-legacy-provider.See also
Volto's pull request, Support Node 18.
Python#
Installing Python is beyond the scope of this documentation.
However, it is recommended to use a Python version manager, pyenv that allows you to install multiple versions of Python on your development environment without destroying your system's Python.
Cookiecutter#
Install or upgrade Cookiecutter in your user's Python:
pip install --user --upgrade cookiecutter
nvm#
The following terminal session commands use bash for the shell.
Adapt them for your flavor of shell.
See also
See the nvm install and update script documentation.
For the fish shell, see nvm.fish.
Create your shell profile, if it does not exist.
touch ~/.bash_profileDownload and run the
nvminstall and update script, and pipe it intobash.curl -o- https://raw.githubusercontent.com/creationix/nvm/v0.39.3/install.sh | bash
Source your profile. Alternatively close the session and open a new one.
source ~/.bash_profile
Verify that the
nvmversion is that which you just installed or updated:nvm --version
Node.js#
Install or update the supported LTS version of Node.js. This command also activates that version.
nvm install 16
Verify that the supported version of Node.js is activated.
node -v
Yarn#
Install the Yarn Classic version (not the latest 2.x one) using npm.
Open a terminal and type:
npm install yarn@1
Verify that Yarn v1.x.x is installed and activated.
yarn -v
Make#
Make comes installed on most Linux distributions.
On macOS, you must first install Xcode, then install its command line tools.
On Windows, it is strongly recommended to Install Linux on Windows with WSL, which will include make.
Finally, it is a good idea to update your system's version of make, because some distributions, especially macOS, have an outdated version.
Use your favorite search engine or trusted online resource for how to update make.
Install Plone 6#
We install Plone 6 with pip, Cookiecutter, mxdev, make, and other developer tools.
Note
We do not maintain documentation for installing Plone 6 or later with buildout.
For Plone 5, buildout was the preferred installation method.
You can read the documentation of how to install Plone 5 with buildout, and adapt it to your needs for Plone 6.
Create a new directory to hold your project, and make it your current directory.
mkdir my_project
cd my_project
Run cookiecutter to create a Plone project skeleton using the Cookiecutter cookiecutter-plone-starter with the following command.
cookiecutter https://github.com/collective/cookiecutter-plone-starter
You will be presented with a series of prompts.
You can accept the default values in square brackets ([default-option]) by hitting the Enter key, or enter your preferred values.
For ease of documentation, we will use the default values.
You've downloaded <path-to-cookiecutter>/cookiecutter-plone-starter before. Is it okay to delete and re-download it? [yes]:
project_title [Project Title]:
project_slug [project-title]:
description [A new project using Plone 6.]:
author [Plone Foundation]:
email [collective@plone.org]:
python_package_name [project_title]:
plone_version [6.0.0]:
volto_version [16.5.0]:
volto_generator_version [6.2.0]:
Select language_code:
1 - en
2 - de
3 - es
4 - pt-br
Choose from 1, 2, 3, 4 [1]:
github_organization [collective]:
Select container_registry:
1 - Docker Hub
2 - GitHub
Choose from 1, 2 [1]:
================================================================================
Project Title generation
================================================================================
Running sanity checks
  - Python: ✓
  - Node: ✓
  - yo: ✓
  - Docker: ✓
  - git: ✓

Summary:
  - Plone version: 6.0.0
  - Volto version: 16.5.0
  - Volto Generator version: 6.2.0
  - Output folder: <path-to-project>/project-title

Frontend codebase:
 - Installing @plone/generator-volto@6.2.0
 - Generate frontend application with @plone/volto 16.5.0

Backend codebase
 - Format generated code in the backend
================================================================================

Project "Project Title" was generated

Now, code it, create a git repository, push to your organization.

Sorry for the convenience,
The Plone Community.

================================================================================
Change to your project directory project-title.
cd project-title
Next we switch to using make.
To see all available commands and their descriptions, enter the following command.
make help
To install both the Plone backend and frontend, use the following command.
make install
This will take a few minutes. ☕️ First the backend, then the frontend will be installed. At the start of the frontend installation part, you might see a prompt.
Need to install the following packages:
  mrs-developer
Ok to proceed? (y)
Hit the Enter key to proceed and install mrs-developer.
When the process completes successfully, it will exit with a message similar to the following.
✨ Done in 98.97s.
Start Plone#
Plone 6 has two servers: one for the frontend, and one for the backend. As such, we need to maintain two active shell sessions, one for each server, to start your Plone site.
Start Plone backend#
In the currently open session, issue the following command.
make start-backend
The Plone backend server starts up and emits messages to the console.
2022-09-24 01:30:17,799 WARNING [ZODB.FileStorage:411][MainThread] Ignoring index for /<path-to-project>/my_project/project-title/backend/instance/var/filestorage/Data.fs
2022-09-24 01:30:19,639 INFO    [chameleon.config:38][MainThread] directory cache: /<path-to-project>/my_project/project-title/backend/instance/var/cache.
2022-09-24 01:30:23,680 INFO    [plone.volto:22][MainThread] Aliasing collective.folderish classes to plone.volto classes.
2022-09-24 01:30:24,935 INFO    [Zope:42][MainThread] Ready to handle requests
Starting server in PID 92714.
2022-09-24 01:30:24,940 INFO    [waitress:486][MainThread] Serving on http://[::1]:8080
2022-09-24 01:30:24,940 INFO    [waitress:486][MainThread] Serving on http://127.0.0.1:8080
Start Plone frontend#
Create a second shell session in a new window.
Change your current working directory to project-title.
Start the Plone frontend with the following command.
make start-frontend
The Plone frontend server starts up and emits messages to the console.
yarn run v1.22.19
$ razzle start
 WAIT  Compiling...


✔ Client
  Compiled successfully in 864.83ms

✔ Server
  Compiled successfully in 9.62s

✅  Server-side HMR Enabled!
Volto is running in SEAMLESS mode
Using internal proxy: http://localhost:3000 -> http://localhost:8080/Plone
🎭 Volto started at 0.0.0.0:3000 🚀
Note that the Plone frontend uses an internal proxy server to connect with the Plone backend. Open a browser at the following URL to visit your Plone site.
You will see a page similar to the following.
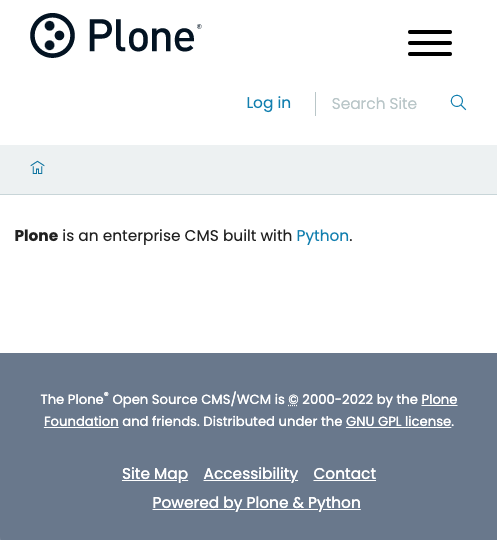
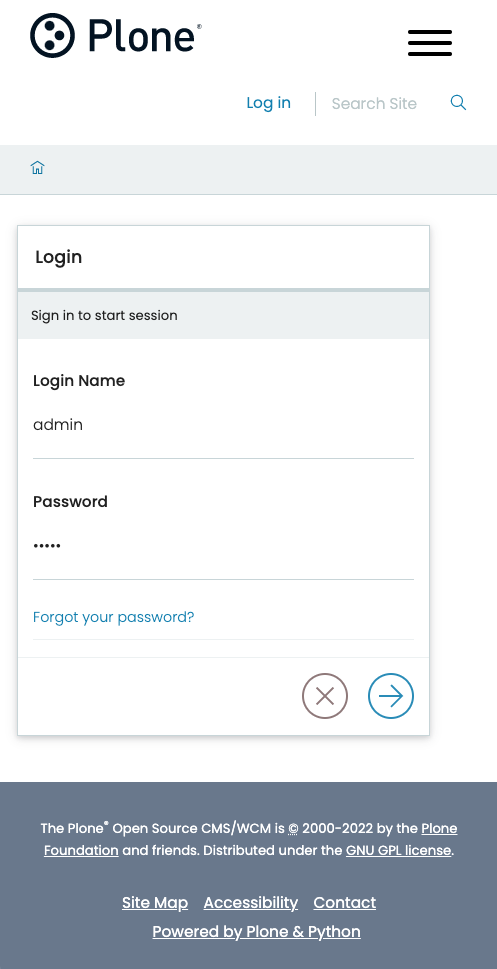
Select the Login link to visit the login form, and enter the following credentials.
Login name:
adminPassword:
admin
Now you can edit content or configure your Plone site.
You can stop the site with ctrl-c.
Enjoy!